How to Make a DIY Foot File Using a Sanding Block and Sandpaper
A DIY foot file is the easiest scrubber you can make to keep your feet looking pretty.
I bet you didn’t realize that a quick trip to your local home improvement store would allow you to gather the materials needed to make the best darn DIY foot scrubber, right?
As much as I love pedicures, I can’t justify $40 monthly to pay someone to scrub my feet and paint my nails for me. Sometimes I’ve got to break out the bucket, soak my own feet, and scrub my feet with a DIY foot scrubber.
And while this is a home improvement and furniture makeover blog, I love to get a little crafty sometimes. This project is the perfect 20-minute or less project that anyone can do!
How to Make a DIY Foot File Using a Sanding Blog and Sandpaper
There are only a few materials you need to make this project.
(I participant in the Amazon Services LLC Associates Program, an affiliate advertising program designed to provide a means for me to earn fees by linking to Amazon.com and affiliated sites).
Materials
- Rubber sanding block
- Sheets of 150-grit sandpaper
- Wide dishpan large enough for feet
- Foot salts
- Foot lotion
- Pedicure set
Watch the Video: DIY Foot Scrubber
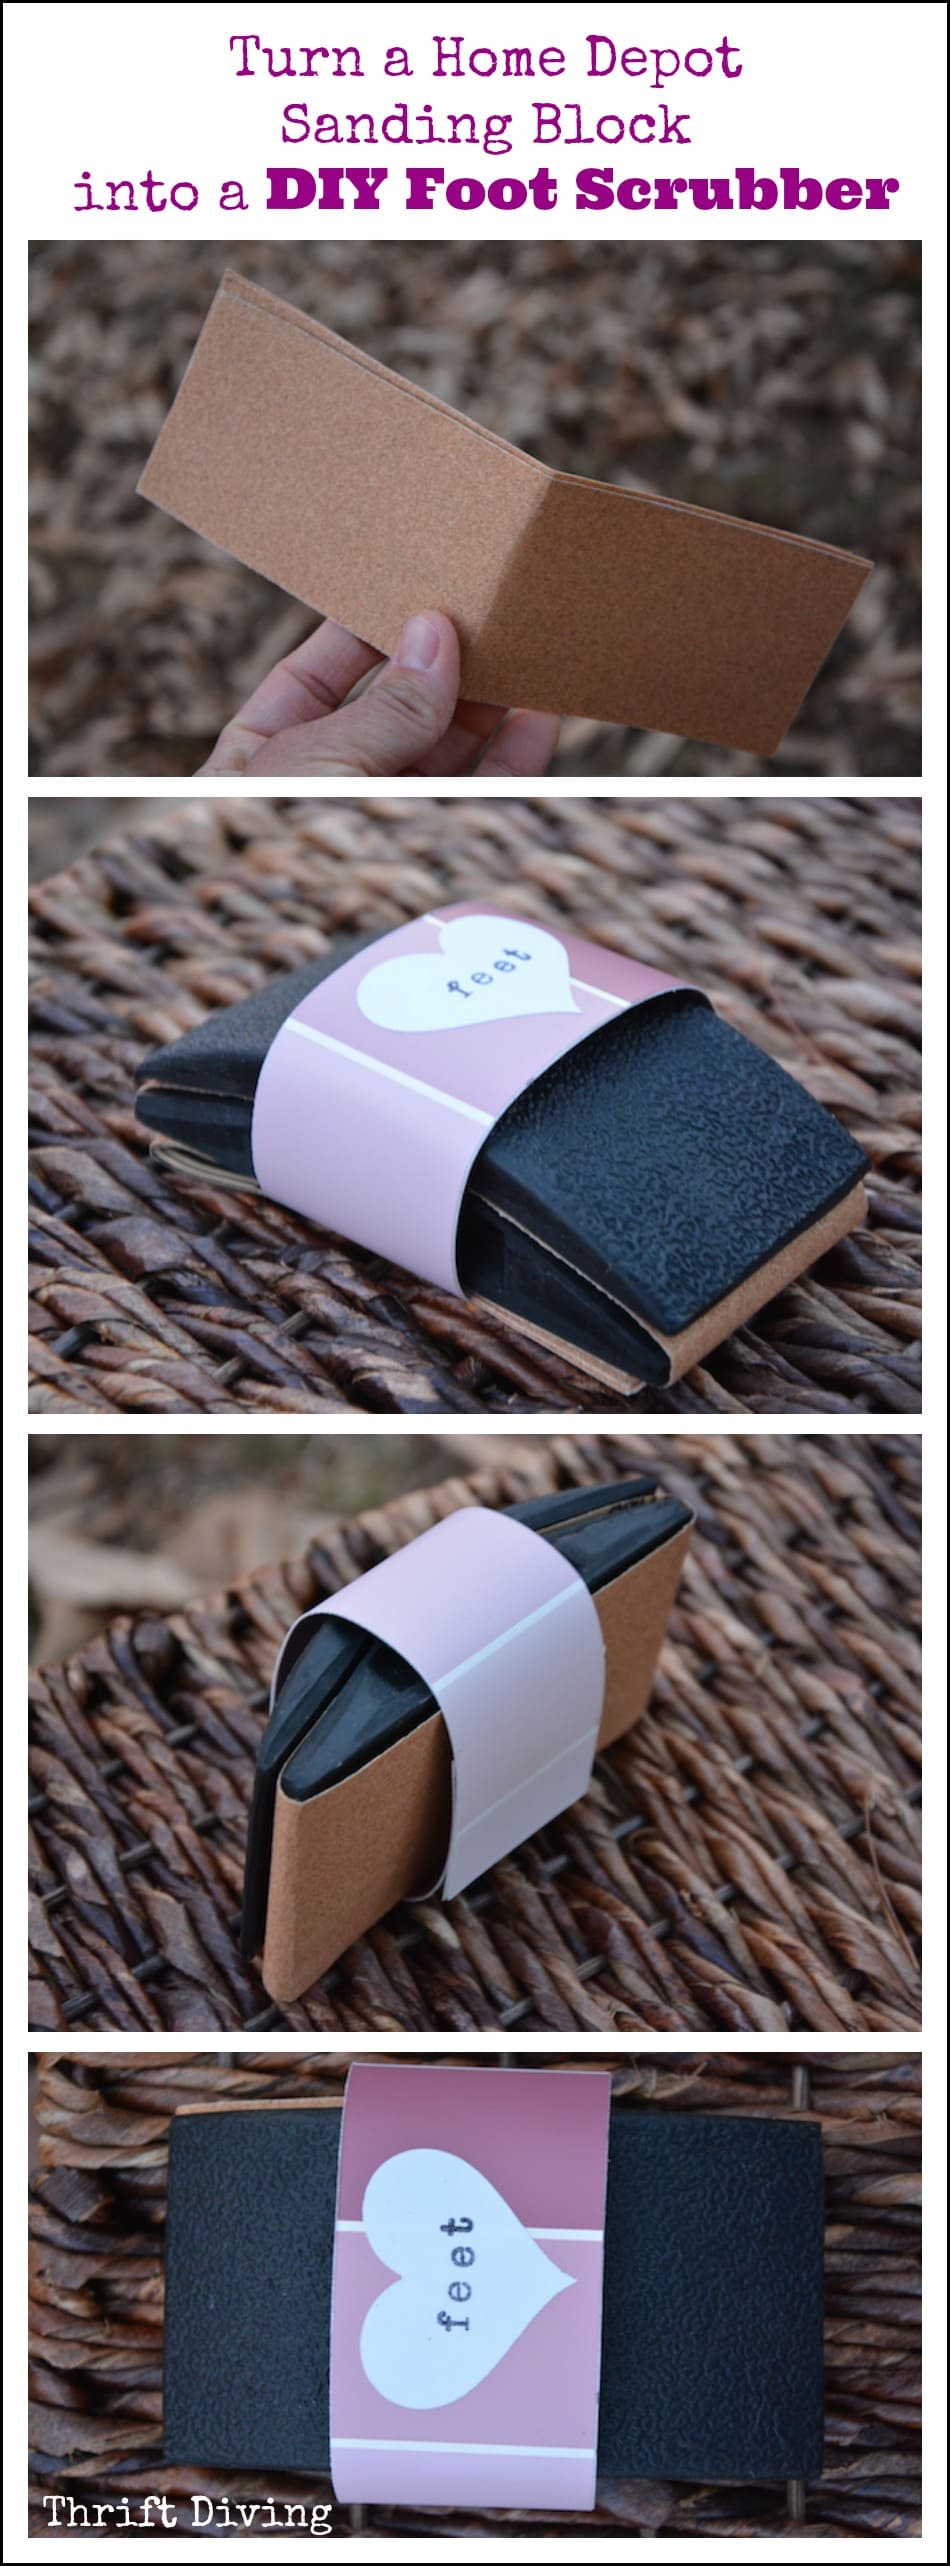
STEP 1: Buy a Rubber Sanding Block
For under $6.00, you can buy a rubber sanding block that’s typically used for handing sanding wood, metal, etc.
STEP 2: Order 150-Grit Sandpaper
The lower the number, the rougher the sandpaper. Be careful because if you get sandpaper that’s really rough (ie. 60-grit or 80-grit), you could scatch your feet all up. If you select sandpaper that’s too fine, such as 120 grit, it won’t remove much of the dead skin. I’ve found that the 150-grit sandpaper works perfectly well.

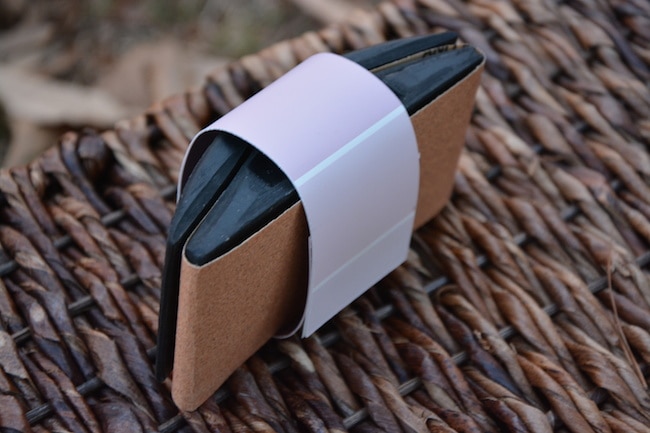
STEP 3: Attach the Sandpaper to the Sanding Block
The sanding block has metal nails that
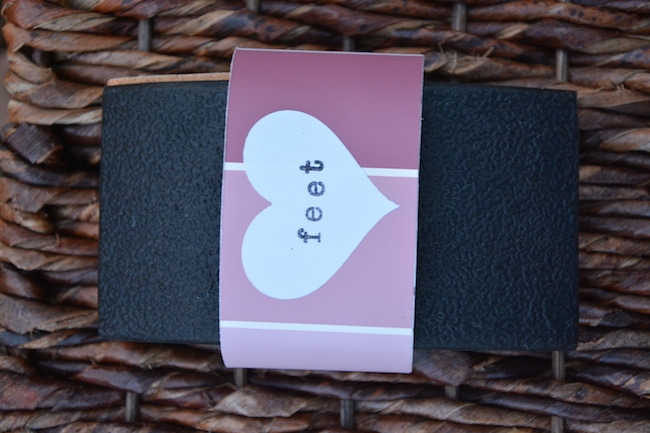
STEP 4: Wrap it in a Colorful Paint Chip
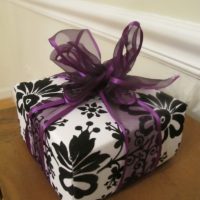
If you’re creating this DIY foot file for a gift or gift basket idea, then you’ll likely want to do something decorative to wrap it up.
I love to use colorful paint chips and just wrap them around, securing them with a heart, or even a snowflake if it’s the winter-time gift-giving season.
If you’re using the foot scrubber for yourself, no need to wrap it. 🙂
(Unless, of course, you like giving yourself gifts, then go right ahead!).
STEP 5: Soak Your Feet at Home
Add some bath salts or a bath bomb to a dishpan that’s large enough to hold your feet. Trust me–don’t use this for dishes. This foot soak basket will be strictly for soaking and scrubbing your feet.
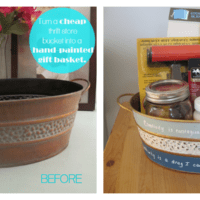
And the coolest thing is that you can make a DIY gift basket for a loved one or friend using pedicure supplies, including this awesome DIY foot file! They’ll truly love this!
Do you like this project? Click here to SAVE it!
![]()
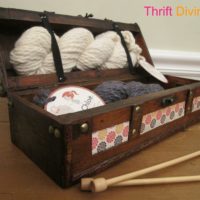
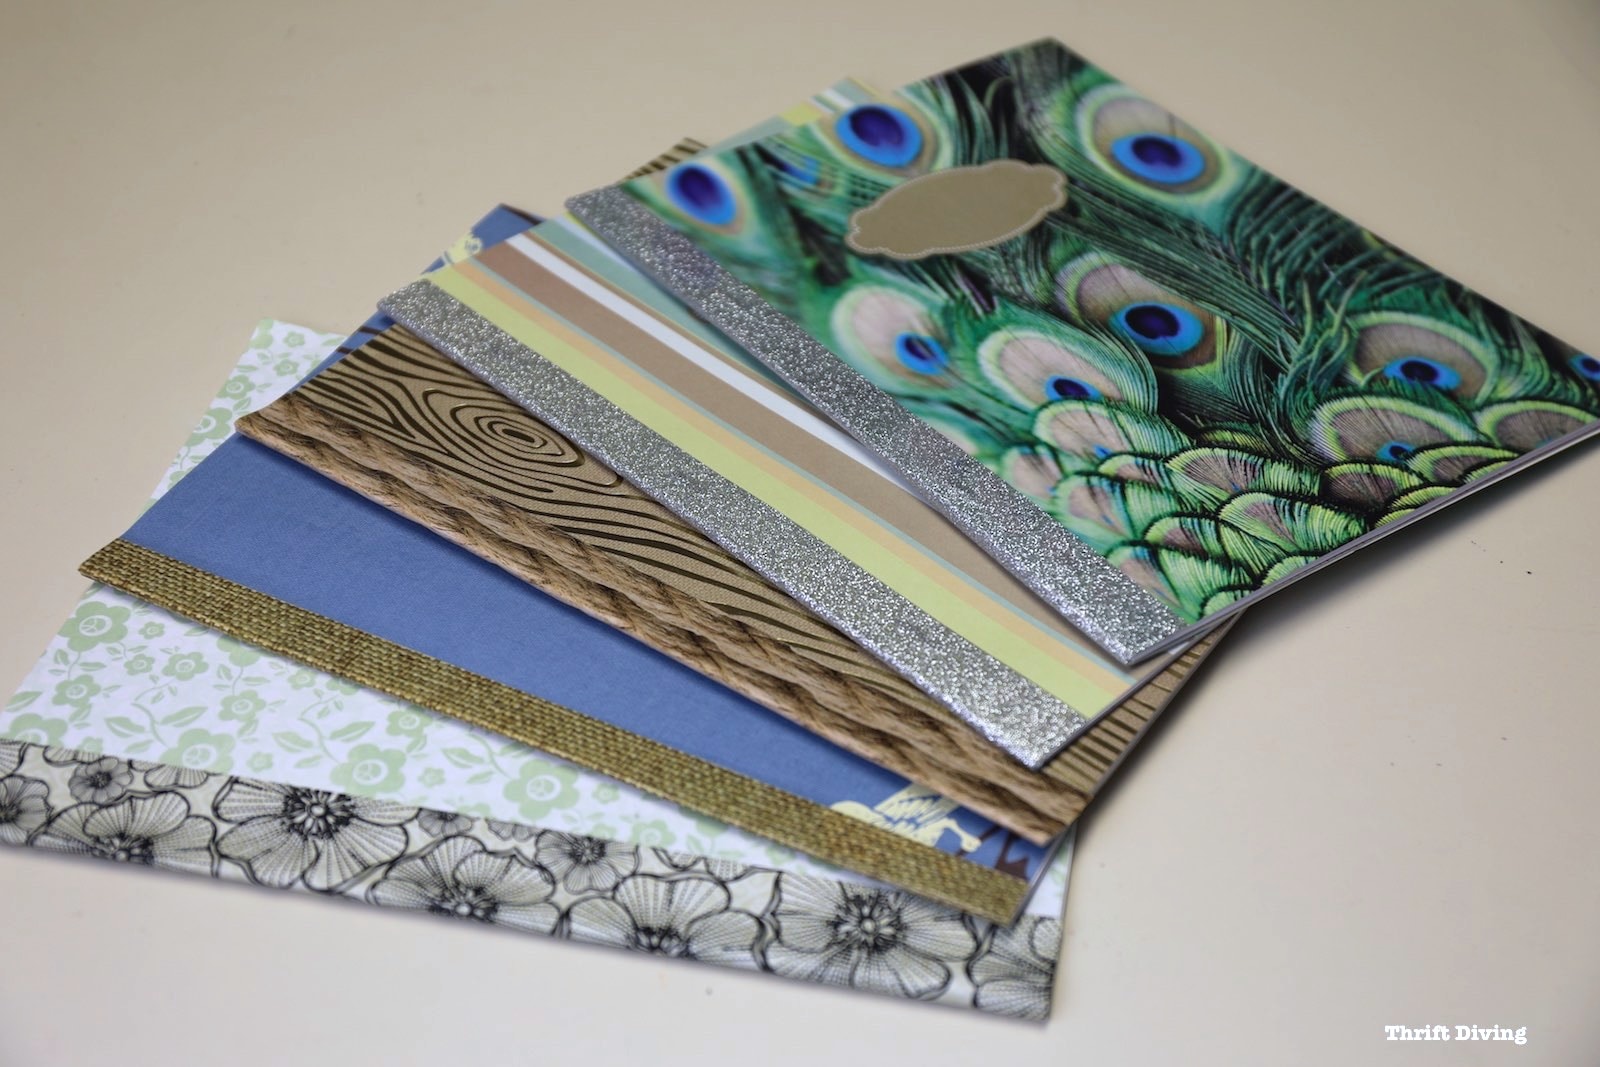
Before You Go…..A Few More DIY Gift Ideas
So have you made a DIY foot scrubber to scrub the dead skin off your feet? How do you take care of your feet? Leave a comment below and share your thoughts!

Download the 5 freebies!

Thrift Diving inspires women to decorate, improve, and maintain their home themselves...using paint, power tools, and thrift stores! Use these 5 printables, checklists, and ebooks to get started!


I used the roughest sandpaper from work I have extremely thick and hard feet they don’t look weird just people start calling me crocodile feet because it nothing can pierce it please help the roughest sand paper didn’t do anything only took off the dirt it built up from walking in the house
This is so great. My hubs told me to use sandpaper a couple of years ago and it works really well. I had not considered a sanding block though, great idea.
Hi Serena, so many great ideas to bring out the creative DIYers. First, I don’t have a garage but, I used the ideas to my balcony & house to begin decluttering every too many things…….. ?. And looking at rough hand, baths rubs & foot care……charity does began at home (my bathrooms need to consist of these great recipes). So, on that note thank you for I’m reminded to began with me then spread the creativity to others. You’re great!!!!!!and, we all appreciate all your ideas.
You’re welcome, Lindia! 🙂